Make an Interactive Timeline Exhibit
Do you have a screen in your lobby?
If you have a TV or LED Wall in a lobby, gallery, or exhibit and want quick, interactive content with animation and visual pop, a dynamic web page is the best way to go. It plays in browsers so any smart tv, small computer, and even a phone can play it and now AI can make amazing interactions with snappy content and engaging animations from a prompt. Its super easy to make and deploy fresh your favorite AI.
These templates, sample prompts and walk throughs quickly make engaging and fun content for any screen, using Gemini, Claude, ChatGPT and others.
This example is a timeline of history in the area before Yellowstone National Park was formed. Nine moments, a picture and a few sentences each slide, auto advancing or interactable. Swap in your own subject and images or create a fully custom version with these instructions.
Build this Interactive Timeline
https://bigskyinteractive.com/yellowstone-timeline
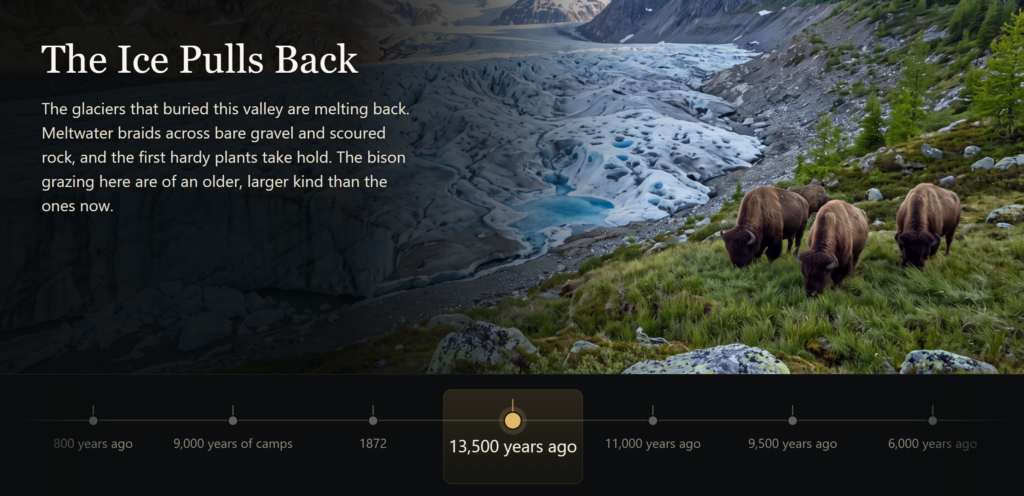
Use photos, branding and artwork you already have or make them with AI.
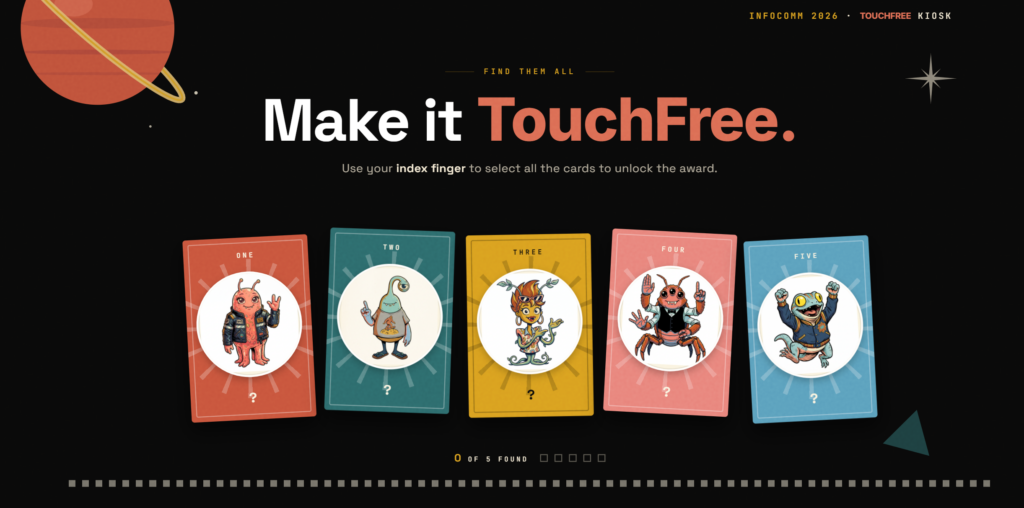
https://bigskyinteractive.com/space-asteroid-game
Interactive Cards that unlock a ball chase game made with AI.
If you have images and content, start there and give them to Claude, ChatGPT, or Gemini and build the animations, interactions and design around those.
Pro-Tip: use your chat AI to create the prompt for you to give to the image generator. Way better results.
Easily Create Rich, Interactive Experiences
This Cyberpunk Tarot Reading was made end to end with Claude and Adobe Firefly, using this method.
Tutorial Outline
- Step 1 – Design
- Step 2 – Images
- Step 3 – Animations & Interactions
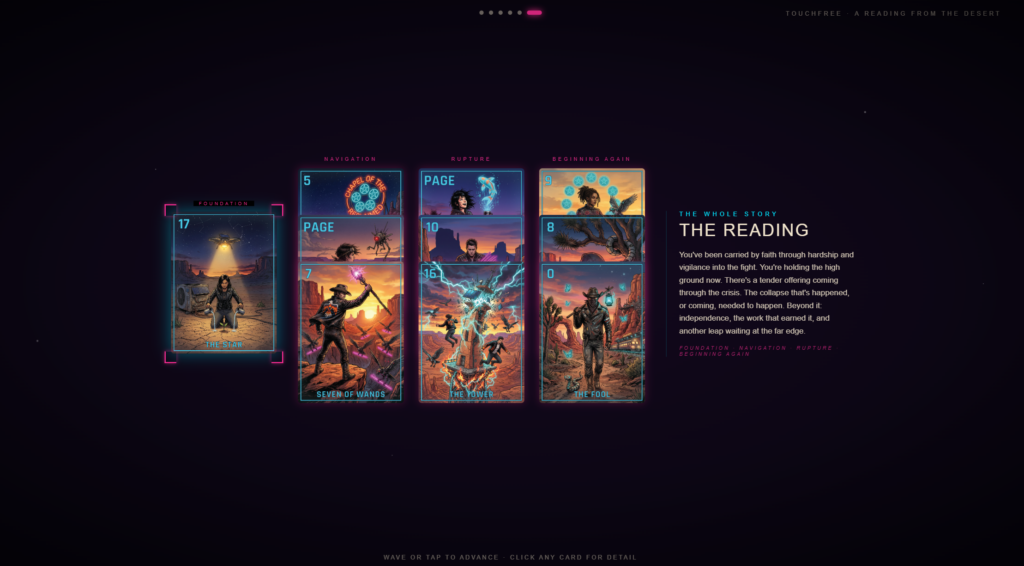
https://bigskyinteractive.com/cyberpunk-tarot
An Interactive Tarot Card Reading all made with AI
Follow these instructions to make an Interactive timeline page from scratch.
Step 1 – Design: If you have images and content already use the AI to design and build around that. If you’re creating the content, start with the design and have the AI give you the dimensions and prompts to create the images and design elements to fit in that.
Ask for options, describe your vision and ask for different ways to present it interactively or dynamically. Pick options, edit elements and design and start evolving it to your vision.
You will have a draft to work with in minutes.
Step 2 – Images: For the Interactive Timeline, I wanted to focus on the history of Yellowstone National Park before it became a national park. So I looked at a dozen archeological events and had the AI create a document with text to image prompts for each visual element with the overall style.
Have the AI write all your image prompts at once, in one document. Each prompt starts with a shared description for style, palette and lighting to make the images look like a set.
Draft small, finish large. Run the prompts at low resolution first to save tokens until you get what you are looking for.
Iteration is the magic ingredient. AI makes ridiculous mistakes and is crazy frustrating doing edits. You usually have better luck, going back to the prompt, editing it, or having the AI edit it with your description of what you want changed and re-creating the image again.
Step 3 – Animations & Interactions: On the animation and interaction elements, describe your vision, get a working draft, then describe edits. With code and text, AI is pretty good at edits so the best way is to iterate from a draft, giving the ai specific edits, then looking at the results. You don’t even have to look at the code, just edits like, “Add an highlight box around the center menu item.” very easy.
Then the changes came one at a time. Make it work on other screen sizes. Move that element. Have it advance on its own on a timer, etc.
You’re not writing code. You’re describing what you see, articulating exactly what you want changed. There are lists of website element terms online.
Have the AI keep the text content in a separate file so its easy to edit for you with the headline, text, and the image filename.
The Starting Page Prompt
Build an web page in the style of an interactive timeline made for full screen TVs, 1920 x 1080, 16:9 format for a TV in a museum gallery. Plain HTML, CSS and JavaScript.
The featured image for the selected timeline event fills the top two thirds of the screen, with the headline and a few sentences over it.
The interactive timeline runs along the bottom third, with a marker and title for each historic event. Scrollable like a carousel. The current timeline item sits in the middle and is bigger than the rest and highlighted.
Keep all the content in a separate file so I can edit it without
touching code. A plain list of entries, each with a headline, a
couple of sentences, a short date label, and an image filename.
It will be shown in a public space on a TV so the text needs to be readable from across the room, nothing can be hidden behind hover.
Give me a first version and lets start editing it.
A Starting Image Prompt
A photorealistic landscape photograph, sharp and highly detailed throughout, with natural depth of field and true texture in rock, soil, foliage and water. The colors are bright, clean and true to life: deep black volcanic glass, warm golden grass, fresh green conifers, clear blue sky and water, bright white snow and pale grey stone. Soft natural directional light comes in low from the left. The photograph fills the entire frame, running all the way to all four edges.
The scene shows the edge of a retreating glacier in a high mountain valley. A wall of dirty blue ice occupies the left side of the frame, giving way to bare gravel and scoured bedrock across the center and right. Braided channels of pale meltwater run through the raw ground. A few low hardy plants have taken hold in the foreground. The sky is cold and pale. The valley is open ground and rock, still bare of trees. A pair of ravens works the gravel in the middle distance. Far out on the open ground stand three bison of an older, larger kind, tall at the shoulder with long widespread horns.
The frame contains only the elements described above.
I’ve used this process several times to make demonstration content for our TouchFree Kiosk and that is what we made it for, to give people the ability to create their own amazing content with a TouchFree user interface, but this method can be used for any display for any reason.
If you have any questions or want to visit about how the TouchFree Kiosk can work for you send me an email. I will get right back to you.